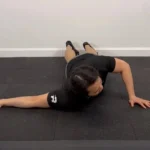
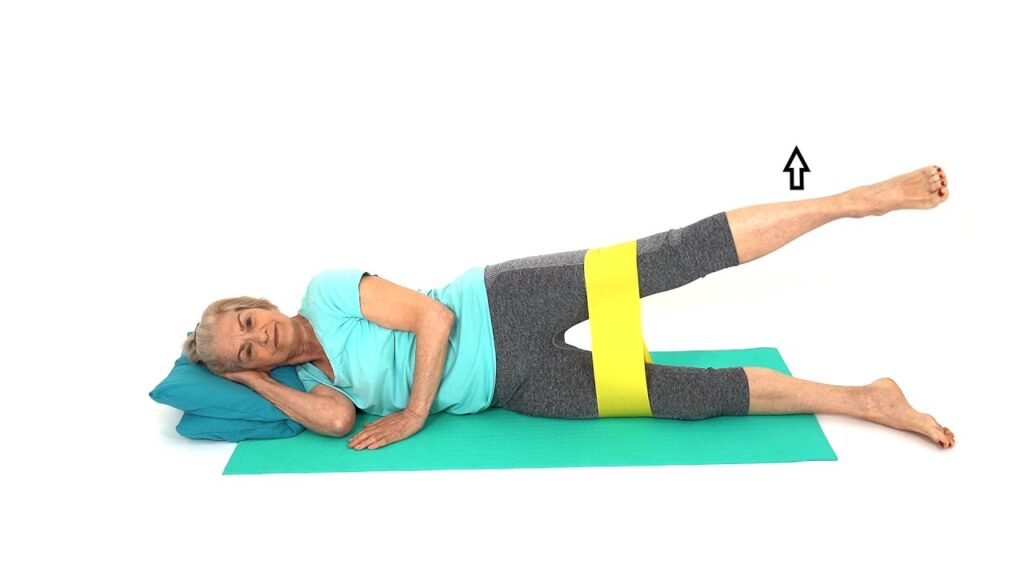

Side lying hip abduction is a simple yet powerful exercise that targets your glute muscles, especially the gluteus medius, helping improve hip stability, balance, and lower body strength. This movement is perfect for beginners and fitness enthusiasts who want to tone their hips and reduce injury risk. Whether you are working out at home or in the gym, it fits easily into any routine. Regular practice supports better posture, mobility, and overall functional fitness for daily life and core strength.
Why it matters
The hip abductors are the unsung architects of healthy movement. They keep your pelvis level as you walk, absorb lateral forces when you run, and quietly protect your knees from caving inward under load. Yet for most people, they’re chronically weak — overshadowed by quads, hamstrings, and glutes that get all the attention. The side lying hip abduction changes that with ruthless simplicity: you lie down, you lift, you restore balance to a system that desperately needs it.
Gait stability
Keeps the pelvis level and controlled through every step.
Knee alignment
Counteracts valgus collapse during squats and lunges.
Injury prevention
Often prescribed in rehab for IT band and hip pain.
No equipment
A mat is optional. Your body weight is more than enough.
How to perform it
1
-
Set your starting position
Lie on your side on a mat with your body in a straight line — legs extended, feet stacked together, toes pointing forward in a neutral position (roughly 90° to the shin). Bend your lower arm and slide it under your head for support, and let your upper arm rest lightly on your top hip. Before you do anything else, check your alignment: hips stacked directly over each other, shoulders vertical, head in line with your spine. Think of your body as a single plank resting on its edge.
2
-
Raise the upper leg — the upward phase
Exhale and slowly lift your top leg away from the bottom one. Keep the knee fully extended throughout — no bend — and maintain that neutral foot position without letting it flick up or curl down. The lifted knee should face directly forward, not rotating toward the ceiling or drooping toward the floor. Rise steadily until you feel the first sign of tension in your low back or obliques, or until the hip begins to tilt. That is your stopping point — do not chase height.
3
-
Return with control — the downward phase
Inhale and lower the leg back down slowly and deliberately. Resist the pull of gravity; the descent should be just as purposeful as the ascent. Once you’ve completed your set on this side, roll smoothly onto the other side and repeat the sequence. That’s it — deceptively simple, genuinely demanding when executed correctly.
Breathing & tempo
Breath drives the rhythm here. Exhale on the effort — the lift — and inhale on the return. This isn’t merely good breathing hygiene; engaging your core through exhalation adds a layer of spinal stability that protects your lower back. Aim for a count of two up and two down. The slower the tempo, the more honest the movement.
Don’t Miss: The Locked Gate: How Hedge Funds Control the Exit
What to watch for
If your hip is tilting before the leg reaches 45°, your abductors are telling you something: they aren’t strong enough to complete a full, clean rep yet. Reduce your range of motion without ego and build from there. If your foot rotates outward at the top of the lift, focus on keeping toes pointed forward throughout — hip external rotators are compensating for weak abductors when this happens.
“The side lying hip abduction rewards patience. It is not an exercise you push — it is one you refine.”
Used in everything from pre-hab protocols to elite athletic warm-ups, this movement punches well above its weight. Add it as a standalone activation drill before squats or deadlifts, include it in a targeted hip strengthening circuit, or use it as a daily corrective. Wherever it lands in your routine, do it with attention — because in an exercise this simple, technique is the entire game.